Firebase RealTimeDataBase를 이용해 데이터를 불러와 리스트 목록을 만들어 보자.
우선, 프로젝트를 만들고 firebase에 안드로이드 스튜디오를 연결해보자.


프로젝트를 만든 후 activity_main.xml 파일에 recyclerView를 추가해 줍니다.
<?xml version="1.0" encoding="utf-8"?>
<LinearLayout xmlns:android="http://schemas.android.com/apk/res/android"
    xmlns:app="http://schemas.android.com/apk/res-auto"
    xmlns:tools="http://schemas.android.com/tools"
    android:layout_width="match_parent"
    android:layout_height="match_parent"
    tools:context=".MainActivity">

    <androidx.recyclerview.widget.RecyclerView
        android:id="@+id/recyclerView"
        android:layout_width="match_parent"
        android:layout_height="match_parent"/>

</LinearLayout>
activity_main.xml
그리고 layout폴더에 recyclerView에 들어갈 list_item.xml 파일을 하나 만들어 줍니다.
<?xml version="1.0" encoding="utf-8"?>
<LinearLayout xmlns:android="http://schemas.android.com/apk/res/android"
    android:orientation="vertical" android:layout_width="match_parent"
    android:layout_height="match_parent" android:layout_margin="10dp">

    <LinearLayout
        android:layout_width="match_parent"
        android:layout_height="wrap_content">

        <TextView
            android:layout_width="wrap_content"
            android:layout_height="wrap_content"
            android:text="이름:"/>

        <TextView
            android:id="@+id/name"
            android:layout_width="wrap_content"
            android:layout_height="wrap_content"
            android:layout_marginLeft="15dp"/>

    </LinearLayout>


    <LinearLayout
        android:layout_width="match_parent"
        android:layout_height="wrap_content">

        <TextView
            android:layout_width="wrap_content"
            android:layout_height="wrap_content"
            android:text="나이:"/>

        <TextView
            android:id="@+id/age"
            android:layout_width="wrap_content"
            android:layout_height="wrap_content"
            android:layout_marginLeft="15dp"/>

    </LinearLayout>

    <LinearLayout
        android:layout_width="match_parent"
        android:layout_height="wrap_content">

        <TextView
            android:layout_width="wrap_content"
            android:layout_height="wrap_content"
            android:text="지역:"/>

        <TextView
            android:id="@+id/region"
            android:layout_width="wrap_content"
            android:layout_height="wrap_content"
            android:layout_marginLeft="15dp"/>

    </LinearLayout>

</LinearLayout>
list_item.xml
xml파일을 다 만들었다면 FireBase에 연결하는 작업을 해주어야 합니다.
안드로이드 스튜디오 Tool - FireBase를 클릭합니다.

많은 목록 중에서 RealTime Database를 클릭합니다.

첫번째로 connect to Firebase 를 눌러 Firebase에 연결을 해줍니다.
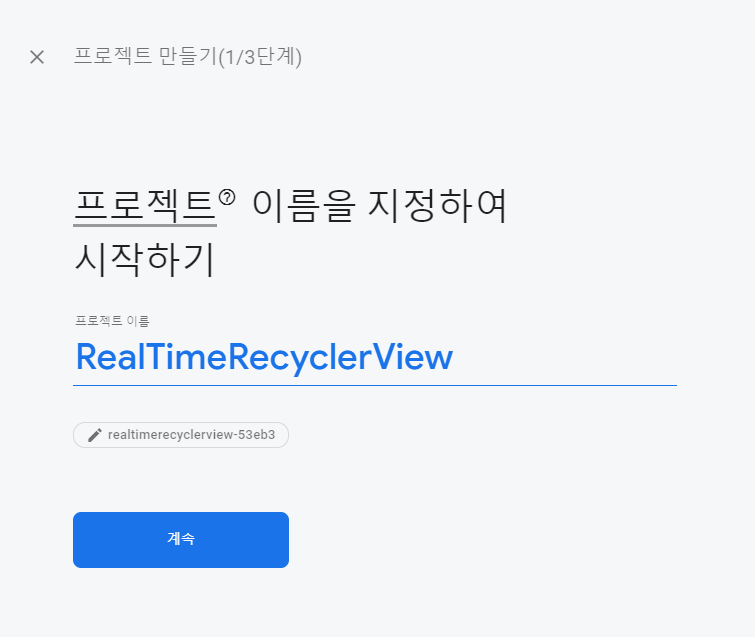
그러면 Firebase 콘솔로 연결이 될텐데 프로젝트를 하나 추가해 줍니다.

프로젝트 이름을 지정하여 계속 버튼을 클릭합니다.
계속 버튼을 눌러 줍니다.

애널리틱스 구성까지 끝냈다면 프로젝트 만들기를 클릭해 완료 합니다.

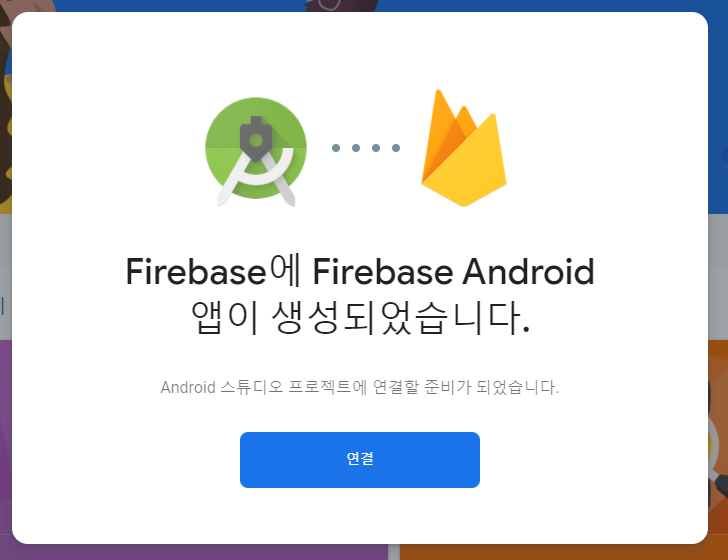
그러면 프로젝트 만들기가 완료되었습니다. 연결을 누르고 안드로이드 스튜디오로 돌아가봅시다.
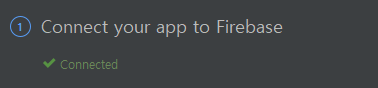
안드로이드 스튜디오로 다시 돌아왔을 때 아래와 같이 연결이 되었다고 나와야지만 연결이 된 것이니 확인한번 해주고 넘어갑니다.
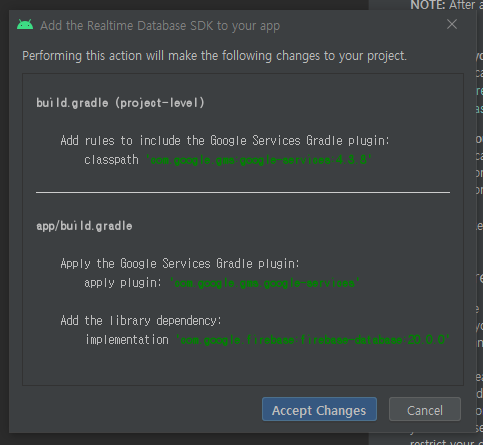
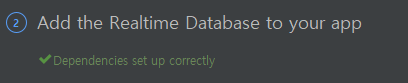
두번째로, Add the realtime database SDK to your app을 클릭합니다.

그러면 아래 사진과 같이 build파일에 추가해줘야할 라이브러리를 알려줍니다. Accept Changes를 눌러 변경해줍니다.
조금 기다리면 완료가 되었다고 체크표시가 뜹니다. 확인 후 창을 닫아줍니다.
마지막으로 안드로이드 스튜디오 build.gradel(app)파일에 firebase의 라이브러리를 추가해줍니다.
    // Import the BoM for the Firebase platform
    implementation platform('com.google.firebase:firebase-bom:28.0.1')

    // Declare the dependency for the Realtime Database library
    // When using the BoM, you don't specify versions in Firebase library dependencies
    implementation 'com.google.firebase:firebase-database-ktx'
    implementation 'com.google.firebase:firebase-analytics-ktx'
이렇게 Firebase에 연결하는 작업까지 마쳤습니다. 다음에 이어서 recyclerView와 LiveData를 만들어 Firebase 데이터를 불러오도록 하겠습니다.
'소프트웨어 > 안드로이드[Kotlin]' 카테고리의 다른 글
| [Kotlin]RecyclerView + LiveData, Firebase Realtime Database 읽어오기[2] (3) | 2021.05.28 |
|---|
